


How to Improve Your Clinical Photography
How to Improve Your Clinical Photography
Written By:
Christopher Cabell
Co-Founder & CTO – AppwoRx
Part 1 – Taking Better Photos
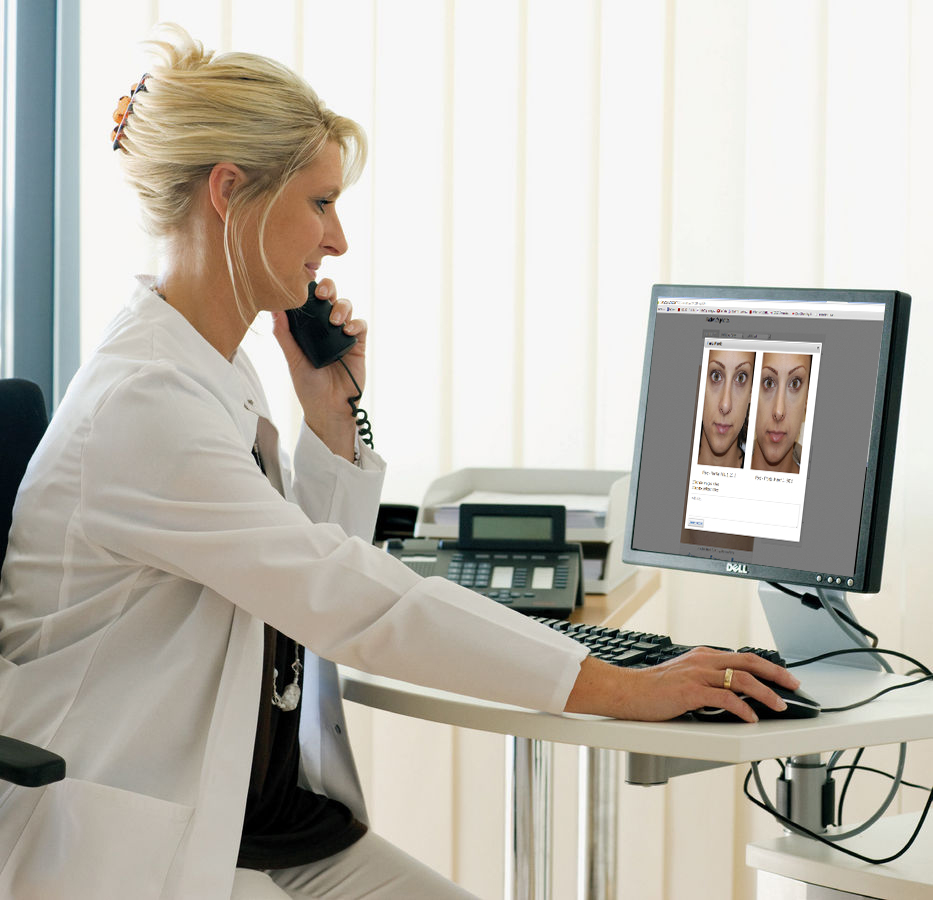
In 2011, Dr. Ari Soffer and I formed AppwoRx with the intention of revolutionizing the field of clinical photography. We developed a software platform, RxPhoto which is used daily by hundreds of physicians and clinicians. Our mobile application and cloud based photo management tools streamline the process of capturing, cataloging and managing clinical photos. I have been involved in all aspects of the development, training and implementation of our software. These efforts have given me a unique perspective on the subject of clinical photography.
When I began training physicians to use the AppwoRx, the focus was strictly on how to use the features of the software. The trainings did not include any advice on how to stage a photo, because I naively assumed that clinical photography technique was something taught to clinicians by their respective medical or nursing schools.
As I worked with more of our customers, I noticed that many of the clinical photos were of poor quality. Often the photographers were not giving much thought to lighting, positioning, shadow or background. I interviewed a number of support staff who seemed to look at the photography process begrudgingly, as an additional step that was necessary in order to get the patient out the door. The importance of taking quality photos had never been instilled in or taught to them, and there were no consequences or repercussions if their results were less than optimal.
With this I realized that AppwoRx would need to do more than educate our users on how to use our clinical software. We would also need to teach them how to take a good picture.
This is the first in a series of articles relating to clinical photography. The intention is to share knowledge gained from working wide range of practices, each with their own set of unique needs. The goal is to not only help reader’s take better photos, but also to help them optimize work flow while marketing and illustrating their services.
The first article is simply entitled “Taking Better Photos”. Below I summarize of some of the techniques I share with my users to help them improve the quality of their photos.
 Accountability
The most effective means I have found to improve photo quality quickly and across an entire organization is to make individuals accountable for the quality of the photos they take. This can be best accomplished by reviewing actual photos with the photographer in an individual or group setting. This will allow you to coach your team based on actual photo sets, not concepts.
It is best to review existing patient photos and create an agenda before any training or coaching the photographer. I suggest finding one or two patients with photos taken by the staff member which are of good quality. Use these high quality photos as an example of the type of photos they should be consistently taking. Starting with positive feedback will set the tone for the meeting so that the photographer is not defensive.
Next, move on to patient photo sets which have been identified as having areas requiring improvement. Choose specific photos as examples and show the photographer what could have been done differently to achieve a better result.
This exercise will show your team that there are only a handful of variables that they must keep in mind when taking a quality clinical photo. If your staff is educated on the core principles of clinical photography, the quality of their photos will greatly improve. This education becomes more effective when the user is aware that their photographs will be periodically reviewed and they will be held accountable for the quality.
Photography Basics
We’ve discussed some techniques for coaching and training, but what types of opportunities for improvements are we looking for?You don’t have to be an expert photographer to take great clinical photos, but there are a handful of items the photographer should be conscious of before taking a photo. When training your team to capture quality photos, it is important to instill in them the basic principles of photography. Obviously there are entire books written on the subject, but for practical clinical photography I have narrowed the list down to the six most important items to remember when taking your photos:
- Lighting
- Positioning
- Shadow
- Background
- Stability
- Consistency
After training your team, you may want to post a note in your exam rooms with these items bulleted. Each time your staff takes a picture, they should be thinking about each of these points. This will help them remember these techniques and they will eventually become second nature to the photographer.
Let’s look at each of these items and examine how they translate to real world clinical photography:
1. Lighting – Naturally, lighting is one of the most important aspects of photography. It is also very commonly misunderstood. In general, most exam rooms have sufficient lighting for clinical photography. Standard halogen or fluorescent lights typically provide more than enough light so long as the wattage of the bulbs is sufficient. Incandescent lights are not optimal for clinical photography, just as they are not optimal for an exam room. If you must use incandescent light, you may want to look at the wattage of the bulbs you are using. 120W Soft White bulbs are a great alternative to standard bulbs and will provide a better spectrum of light for your photographs.
Many photographers feel that their exam rooms do not have enough light, when in fact the issue is that they are not cognizant of where the light source is in relation to the subject they are photographing. When taking a picture of a patient, one must be sure that the light is shining on the subject area being photographed. If your patient is sitting on an exam table, and the room’s light source is behind you, then you are likely blocking your light source. Before taking a photo you should always make sure there is a direct path between the light source and the subject area.
2. Shadowing – You may have sufficient light in a room, but if you aren’t positioning your subject correctly or your camera is not angled correctly to take advantage of the light, you can get shadow. At times, shadow may not be noticeable with the naked eye, but is much more pronounced in the photo. That is why it is important to always review the photo after you take it to ensure that your subject area is clearly visible.
3. Positioning – Positioning is critical for taking good clinical photos. Part of a clinical photographer’s job is to instruct the patient how to position their body to enable the best quality photo. The highest quality photos I typically see are taken by clinicians who have a pre-defined series of photos that they take for every patient. Each patient’s photos are taken in the same position, often using props such as step stools or tape on the floor to show where feet should be positioned for each shot. By walking into each photo session with a plan, clinicians are able to streamline the process and take better photos.
Positioning the patient is not, however, the only thing to be conscious of when taking your photo. The photographer must also be aware of how the camera is positioned. The best rule of thumb is to always keep the camera flat and pointed directly at the subject area. You should never hold your camera at an angle when taking a clinical photo. Any type of offset angle will distort your photo and detract from overall quality.
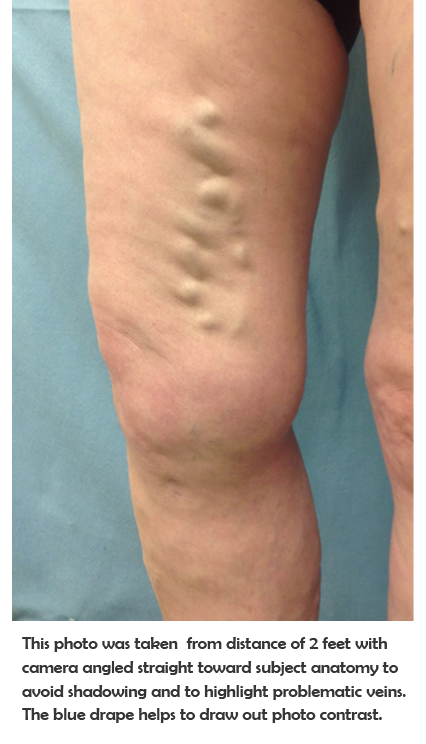
4. Background – One of the biggest areas for improvement I typically see is in the use of backdrops. I cannot stress how critical it is to have an appropriate backdrop behind your subject whenever possible. Taking a photo of Caucasian skin against a two-toned beige wall, for example, will always provide less than optimal results.
If you want to use something around the office to serve as a backdrop, my recommendation is blue medical drapes. If you don’t have these handy, you can purchase a few yards of material at any fabric store. Dark or navy blue fabric will provide the best results. You can either hang it in your exam room, or you can find a way to make a “prop” background that is versatile but will not get in the way. Some of my more creative users have taken a large section of poster board and affixed blue material to it with spray adhesive. Such a prop can be positioned as needed and easily moved between exam rooms.
5. Stability – Holding a camera steady is essential when taking a clinical photo. This should go without saying, but surprisingly this is an area we have to coach on quite often. Whenever possible, you should use some type of prop to help steady your camera. Exam stools and exam tables work great, but you can also use your other hand to help stabilize the hand holding the camera. Be creative with your props, but more importantly, be aware of the need to have a steady hand when taking your photos.
6. Consistency – Consistency is critical when taking clinical photos. Your before and after photos are a key component of marketing and illustrating your services. Anyone visiting your website will surely be viewing the work that you have done to assess the results they can expect. Even the best results are less than impressive if the before and after photos were taken from a different angle, a different distance, or with a different background. These photographs are your professional portfolio and they should be treated as such.
Having a standardized process for taking photos is a great way to ensure photo consistency. However, utilizing your previous photo as a guide for your new photo is the best way to ensure that you take the same picture every time. The AppwoRx platform has a photo “Ghosting” feature that allows the user to overlay a previous photo onto a new photo to be used as a guide for framing the new image. Ghosting ensures that no matter who took the previous photo, the current photographer can render a consistent new photo.
Summary:
I sincerely hope that these tips help you and your staff to take better photos. I’m very passionate about helping individual practices improve their clinical photography, because it creates a better user experience with our software. For the next article in this series, I will discuss how to use clinical photos to better market your practice.
Written by Site Admin
Chris Cabell is the co-founder and CTO of AppwoRx. Recognized as an innovator in the field of mHealth and pHealth (Participatory Health), Chris speaks regularly at Health and Technology events throughout the US. Chris is passionate about global mHealth initiatives because he sees the potential to create technology that is disruptive to the industry and deeply impactful to those it helps.